
Step by Step Art Poster Display for Stylish Spaces
Feb 10, 2026
Hanging art in a small apartment often feels like fitting creativity into a puzzle with limited pieces. Whether you are dreaming of a London-inspired gallery wall or want to highlight your favorite American artists, curating the right posters and finding the perfect display spot can turn a cramped nook into a vibrant showcase. This guide reveals how a thoughtful approach to both selection and arrangement brings balance to even the coziest spaces, emphasizing eye-level positioning and visual flow for effortless style.
Table of Contents
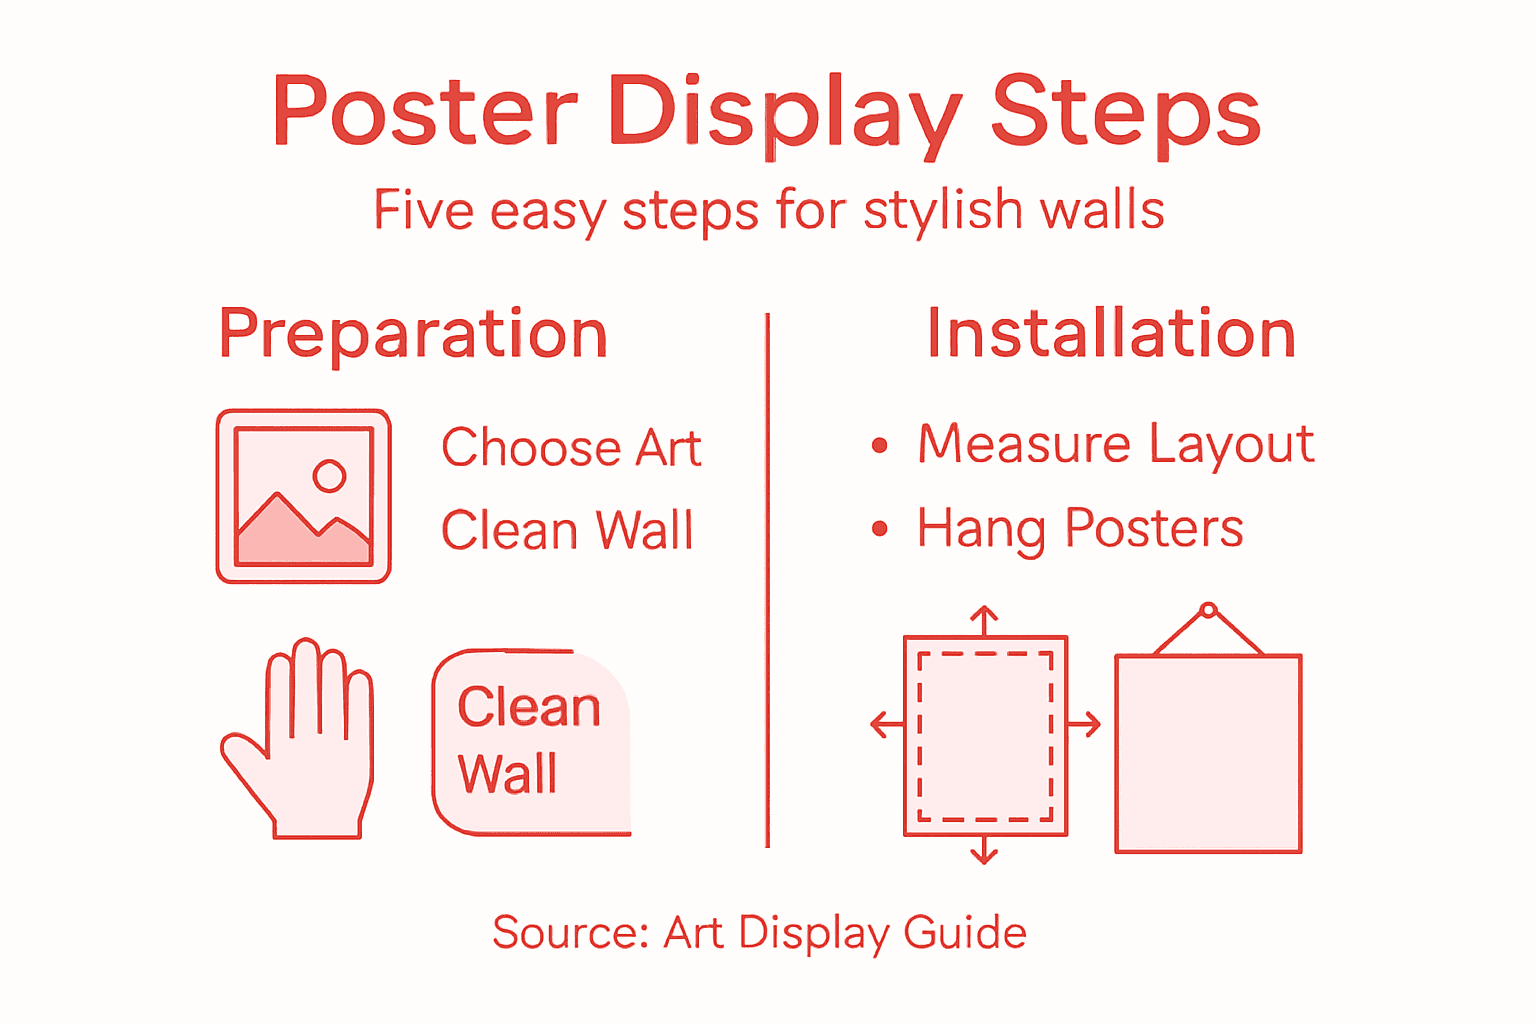
- Step 1: Select the Ideal Posters and Display Location
- Step 2: Gather Essential Tools and Hanging Supplies
- Step 3: Prepare the Wall and Posters for Display
- Step 4: Arrange and Mount Posters with Care
- Step 5: Check Alignment and Make Final Adjustments
Quick Summary
| Key Point | Explanation |
|---|---|
| 1. Assess your wall space | Evaluate available wall areas for optimal light and minimal clutter to enhance artwork visibility. |
| 2. Use the right tools | Gather essential tools like a level, hammer, and appropriate hanging hardware for a secure display. |
| 3. Prepare your posters properly | Clean and inspect your posters to remove defects, ensuring a professional presentation on your wall. |
| 4. Plan your arrangement | Create a visual layout using painter’s tape to achieve a balanced and cohesive display of posters. |
| 5. Check alignment meticulously | Conduct a thorough inspection post-installation to ensure precision in alignment and spacing of posters. |
Step 1: Select the Ideal Posters and Display Location
Selecting the perfect art posters and identifying their ideal display location can transform an ordinary space into a personalized gallery that reflects your unique artistic taste. Your goal is to curate a collection that not only looks stunning but also complements your room’s existing design and atmosphere.
Start by assessing your available wall space with a critical eye. Consider areas that receive good natural light and have minimal visual clutter. Creating engaging spaces requires thoughtful positioning that allows your art to breathe and command attention. Look for wall sections that provide:
- Clear visual lines of sight
- Minimal obstruction from furniture
- Consistent background color or texture
- Appropriate wall height for comfortable viewing
When choosing posters, diversity and personal connection matter most. Mix different art styles, sizes, and frames to create visual interest. Consider your room’s color palette and select posters that either complement or intentionally contrast with your existing decor.
Think about the viewer’s perspective and eye-level positioning. Artwork should be hung where it naturally draws the eye, typically 57-60 inches from the floor. This approach ensures comfortable viewing and creates a professional, intentional display.
Pro tip: Use painter’s tape to mock up poster placement before making holes, allowing you to visualize the final arrangement without commitment.
Step 2: Gather Essential Tools and Hanging Supplies
Successfully hanging art posters requires more than artistic vision - you need the right tools and supplies to create a professional, secure display. This step will help you compile everything necessary for a flawless poster installation.
Preparing for poster hanging involves collecting a comprehensive toolkit that ensures precision and safety. Your essential supplies should include:
- Measuring tape or ruler
- Pencil for marking
- Level
- Hammer
- Picture hanging hooks or nails
- Screwdriver
- Safety goggles
- Stud finder (optional but recommended)
Pay special attention to the weight and size of your poster when selecting hanging hardware. Lightweight paper posters require different mounting techniques compared to framed artwork. Consider using wall anchors for heavier pieces to prevent potential damage or accidental falls.
Matching the right hanging hardware to your poster’s weight is crucial for a secure and professional display.
Be strategic about your hardware selection. Different wall materials like drywall, plaster, or brick may require specific mounting approaches. When in doubt, consult a hardware specialist or use adjustable hanging systems that accommodate multiple wall types.
Here’s a breakdown of common wall types and recommended mounting solutions:
| Wall Type | Best Hardware | Key Consideration |
|---|---|---|
| Drywall | Hooks, wall anchors | Use anchors for heavier posters |
| Plaster | Screws, anchors | Avoid hammering directly |
| Brick | Masonry screws | Drill pilot holes for stability |
| Wood Panel | Nails, screws | Check for secure placement |
Selecting the right hardware ensures a safe and professional installation.
Pro tip: Keep a small level in your toolkit to ensure perfectly straight poster alignment every single time.
Step 3: Prepare the Wall and Posters for Display
Before hanging your art posters, meticulous preparation is key to achieving a professional and visually stunning display. Wall surface preparation involves creating the perfect canvas for your artwork.
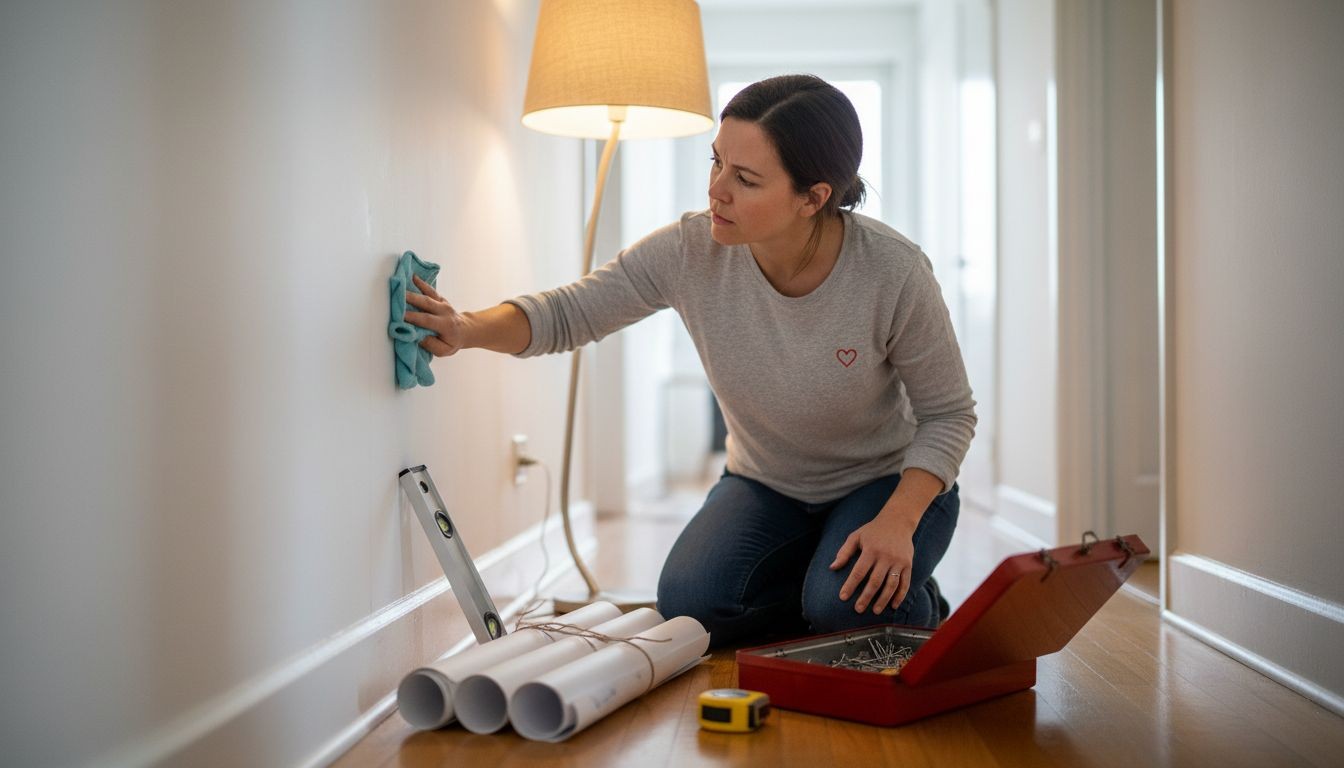
Start by thoroughly cleaning the wall surface. Remove any dust, cobwebs, or existing marks using a soft cloth or gentle cleaning solution. Ensure the wall is completely dry and smooth, which helps prevent future mounting issues and provides a pristine background for your posters.
Next, carefully inspect your posters for any imperfections:
- Check for creases or wrinkles
- Examine edges for potential damage
- Consider mounting on backing board for additional stability
- Flatten rolled posters between heavy books overnight
Proper poster preparation transforms a simple wall hanging into a professional art display.
If your posters are valuable or fragile, consider using archival mounting techniques. This might include acid-free mounting boards, special adhesives, or protective frames that preserve the artwork’s integrity while creating a polished presentation.
Pro tip: Use removable mounting putty for temporary displays to avoid wall damage and easily reposition your artwork.
Compare temporary and permanent poster mounting approaches:
| Mounting Method | Durability | Best For | Risk of Wall Damage |
|---|---|---|---|
| Removable Putty | Temporary | Rental spaces, trial | Minimal |
| Poster Frames | Permanent | Valuable artwork | Low with correct use |
| Wall Anchors | Permanent | Heavy/framed posters | Some, fills holes |
Choosing the appropriate method aligns with your poster’s value and display goals.
Step 4: Arrange and Mount Posters with Care
Transforming your wall into a curated art display requires strategic planning and thoughtful arrangement. Poster arrangement techniques demand a careful approach that balances visual aesthetics and spatial harmony.
Begin by creating a visual layout plan before mounting. Use painter’s tape to mock up your poster positions, allowing you to experiment with different configurations without committing to permanent placement. Consider these key principles:
- Maintain consistent spacing between posters
- Align edges horizontally or vertically
- Create visual balance across the entire wall
- Mix poster sizes for dynamic interest
- Group related artwork together
The art of poster arrangement is about creating a narrative that speaks to your personal style.
When mounting, use precise measuring techniques to ensure professional alignment. Measure twice, mark lightly with a pencil, and use a level to guarantee straight placement. For heavier posters, locate wall studs or use appropriate wall anchors to provide secure support.
Pro tip: Photograph your planned layout before mounting to review and refine your design from a different perspective.
Step 5: Check Alignment and Make Final Adjustments
After mounting your posters, the crucial final stage involves meticulous alignment and refinement. Poster display precision requires a discerning eye and attention to minute details that elevate your wall from good to extraordinary.
Begin with a comprehensive visual inspection. Step back and critically evaluate your poster arrangement, checking for:
- Perfect horizontal and vertical alignment
- Consistent spacing between frames
- Balance of visual weight across the wall
- Symmetry and intentional asymmetry
- Poster edges and frame straightness
Perfection is found in the details that most people overlook.
Use a laser level or smartphone level app to verify precise alignment. Make small adjustments by gently shifting poster positions, ensuring each piece contributes to the overall visual narrative. For heavyweight posters, double-check that mounting hardware remains secure during repositioning.
Pro tip: Take a smartphone photo of your display from multiple angles to critically assess alignment and composition without physically moving around the room.
Elevate Your Space with Stunning Art Posters from ArtoramaShop
Creating stylish, personalized wall displays starts with choosing the perfect art posters and hanging them with care. This guide highlights key challenges like selecting the right posters, arranging them precisely, and preparing your walls for a professional look. Many art enthusiasts struggle to find exclusive prints that truly reflect their unique taste while ensuring their rooms feel inviting and visually balanced.
At ArtoramaShop, we understand these goals and offer a curated collection of high-quality art posters and exclusive pop culture-inspired merchandise. Whether you want to mix iconic works from Picasso or Banksy with your home decor or add stylish clothing that complements your artistic vibe, our selection supports your creative expression effortlessly.

Explore our carefully designed posters and wearable art to create a space that tells your story. Don’t wait to transform your walls into an artful statement. Visit ArtoramaShop now and discover unique pieces that bring your vision to life. Start your stylish transformation today with exclusive, high-resolution art merchandise you will love.
Frequently Asked Questions
How do I choose the best display location for my art posters?
Selecting the best display location involves assessing your wall space for clear visual lines and minimal obstructions. Identify areas with good natural light and mark potential spots using painter’s tape to visualize the final arrangement.
What tools do I need to hang art posters securely?
To securely hang art posters, gather essential tools like a measuring tape, level, hammer, and appropriate hanging hardware based on the poster’s weight. Collect these supplies beforehand to ensure a smooth and professional installation process.
How can I ensure my posters are hung at the right height?
Hang your posters at eye level, typically 57-60 inches from the floor, to ensure comfortable viewing. Use a measuring tape to mark the correct height and confirm alignment with a level before securing the posters to the wall.
What preparation do I need to do before mounting my art posters?
Prior to mounting, thoroughly clean the wall to remove dust and ensure a smooth surface. Inspect your posters for any imperfections, flattening rolled ones overnight under heavy books if necessary, to prepare them for display.
How can I arrange my posters for a visually appealing display?
Create a visual layout plan by using painter’s tape to mock up poster positions on the wall before committing to permanent placement. Maintain consistent spacing, mix sizes for interest, and consider grouping related artwork to enhance the overall aesthetic.
What adjustments should I make after hanging my posters?
After hanging, step back and evaluate the arrangement for alignment and spacing. Use a laser level to check for precision and make small adjustments to ensure visual balance across the display, enhancing the overall presentation.

